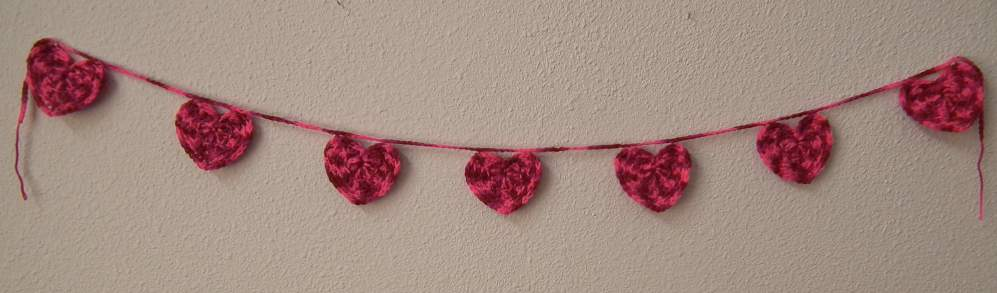
Crochet Heart Garland
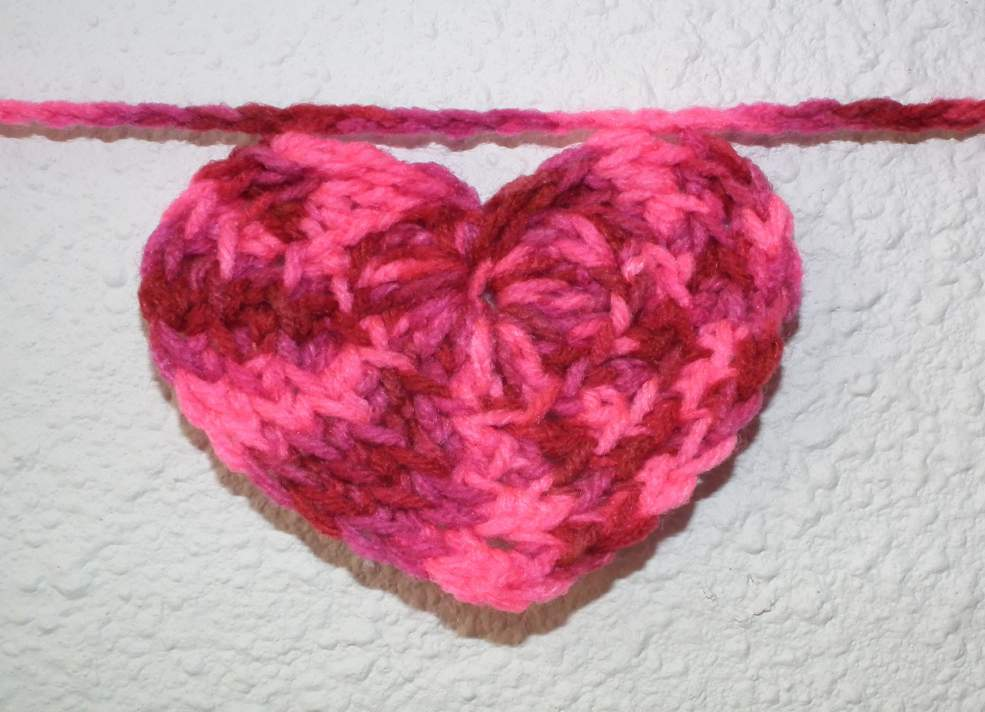
These hearts are soft, sweet and the perfect Valentines Day decoration! You'll need a general understanding of crochet to complete this pattern.
Supplies Needed :
Size H/8-5.00MM crochet hook Medium weight yarn – this is a great pattern for using up scraps Scissors
Abbreviations Used:
ch – chain
ss – slip stitch
sc – single crochet
dc – double crochet
tc – triple crochet
hdc – half double crochet
Pattern:
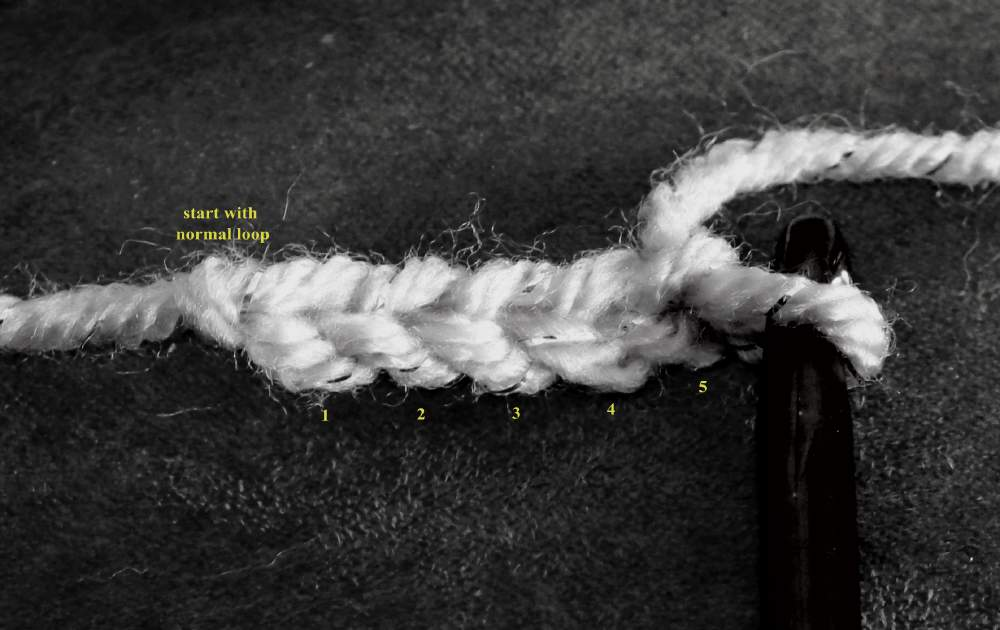
start with a standard loop and ch 5, ss to first stitch to make a loop
ch 2, then 3tc , 3 dc, 1 tc, 3 dc, 3 tc, all into center loop ch 2, then ss into center

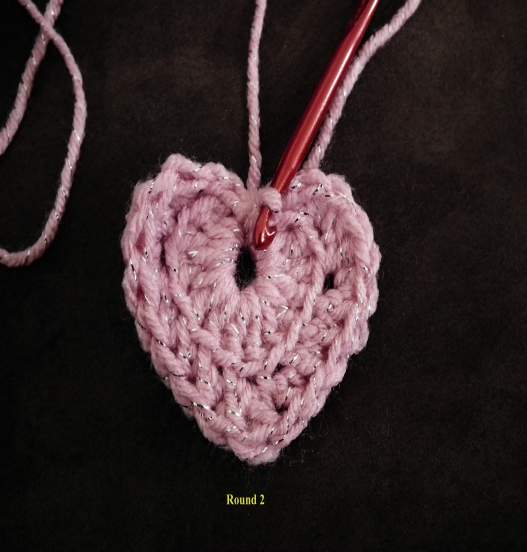
Round 2
ch 3, 2 hdc into top of first tc from round 1, 3 hdc into next stitch, hdc into next three stitches, dc into next two stitches, hdc into next three stitches, 3 hdc into next stitch, 2 hdc into next stitch, ch 3 and ss into center.
Round 3
ch 3, hdc into the top of ch 3 from round 2, 3 hdc into next stitch, 2 hdc into the next stitch, sc into the next 7 stitches, sc into the space between the 2 dc from round 2, sc into the next 7 stitches, 2 hdc into the next stitch, 3 hdc into next stitch, hdc into next stitch, ch 3, ss into center.
ch 2, sc into the top of ch 3 from round 3, hdc into next stitch, 2 hdc into next two stitches, hdc into next stitch, sc into next 8 stitches, ch 1, sc into next 8 stitches, hdc into next stitch, 2 hdc into next two stitches, hdc into next stitch, sc into next stitch, ch 2, ss into center, tie off.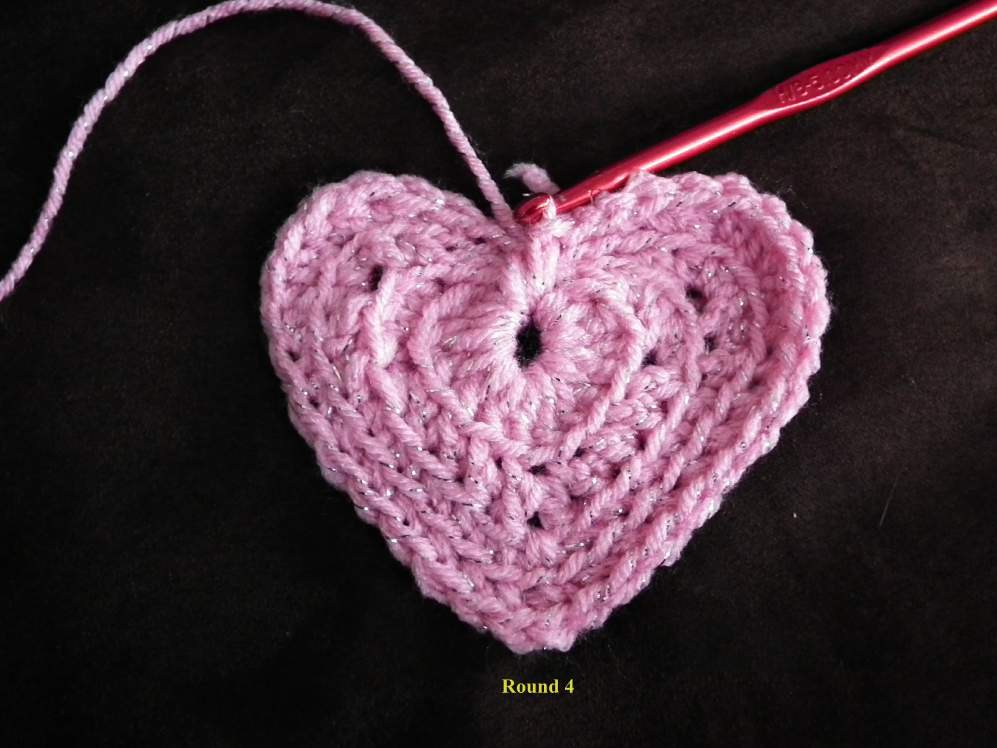
You have two choices on your tie off, you can bring the ends to the front and tie in a bow, or tie them in the back and clip the ends short.
To make into a bunting. Make 6 hearts or more, I personally like 7 and up. Start with a standard loop and ch 20, join to the top of a heart, ch 7, join to the other side of the heart, ch 15 in between hearts, or
20 to end. Continue until all hearts are used.
I hope you enjoy your bunting as much as I've enjoyed designing this. I would love to see your completed projects, and hear your comments as to things you liked/disliked about this pattern. Please feel free to sell items made from or use this pattern any way you like, please just don't claim it as your own. Any similarities of this pattern in part or full is purely unintentional.
Please stop in www.facebook.com/stewiecakesboutique or visit the blog at www.blogspot.com/stewiecakes